Getting Started 😎
Welcome to MAAD-AF Lab. We like you and your time so we have designed this short lab to make you experts on MAAD-AF and running a M365 Red Team exercise to win your POVs.
In this lab you will run through the process of using MAAD-AF and executing attacks against a Entra ID/M365 environment. This process is exactly how your prospetcs would also run the red team in their environment during the POV. Hence, this lab will prepare you to best assist your prospect in the red team exercise. For the course of this lab you will go through 4 short modules that primarily aim to inform you on MAAD-AF and its capabilities and the process of running a red-team exercise during a POV so you can form your own processes and ideas on how you want to leverage this in your engagement.
4 Modules
Initial Access: Gain access using compromised credentials.
Persistence: Setup persistence channels for information access
Defense Evasion: Cover tracks to some degree
Collection: Find and gain access to sensitive data
The lab has 5 checkpoints so be sure to follow through and collect completion artifacts.
Once you have completed this lab and feel comfortable using MAAD-AF, it is highly encouraged that you ideate your own ways of using this in your engagements. A MAAD-AF POV guide is available if you prefer a more structured approach detailing different security testing process using MAAD-AF.
NOTE: All detections generated in this lab will be visible on the following brain: https://207753870716.uw2.portal.vectra.ai/signIn.
MAAD-AF Initial Setup
MAAD-AF is designed to be very easy and straightforward to setup & start testing. In short, download MAAD-AF onto a Windows 10 machine, open powershell and launch MAAD-AF. Thats it!
The below instructions will prepare you on how to do this lab but most importantly how you can perform the same during a POV red team.
Step 1: Get Testing Credentials
Testing credentials are Entra ID (Azure AD) credentials that will be used to execute attacks for testing using MAAD-AF.
For this lab you will be targeting Entra ID environment in Vectra Cyber Range. You can instantly self-provision MAAD-AF testing credentials for yourself via the TME Self Service portal.
To finish this first step, follow the below instrcutions to get yourself testing credentials:
Login to TME Self Service portal using your Vectra SSO
Select
POVon the top menuSelect
MAAD-AFClick on
Generate credentialsCopy the
username&passwordand save them for next steps.
This generates Global Admin credentials for you to run your tests. If you are the attacker, consider these credentials as your compromised credentials that you will use later to establish initial access.
Note: There is no limit on how many testing credentials you can generate through this portal.
So you can use the self service portal to provide dedicated testing credentials for your prospects as well,
if they would like to run MAAD-AF attacks in Vectra environment for a POV instead of theirs.

Keep in mind that these credentials will automatically expire in 7 days from provisioning.

During an actual POV, when you are running a MAAD-AF red team exercise in the prospects environment,
instruct the prospect to provide a set of testing credentials.
The testing credential requirements and any other requirement information can be found on MAAD-AF public website
Step 2: Get MAAD-AF on Your Host
Now that you have the compromised credentials, you need the tool to execute your attacks. MAAD-AF has a no-setup requirement so you shouldn’t have to do anything to get started with the tool (isn’t that great?).
To complete step 2, follow the below instructions:
Access your Cyber Range Windows 10 host via RDP
Open any browser on your Windows 10 host
Open MAAD-AF github repository. You can do this by googling “MAAD-AF github” followed by clicking on the first link or use this direct link to MAAD-AF Github
Click on
CodeClick on
Download ZipDownload, save (and extract if needed) the MAAD-AF file to any path/folder in your Windows 10 host
Open
PowerShellas Admin on your Windows 10 hostIn PowerShell, navigate to the folder where you saved MAAD-AF. For example, if you saved MAAD-AF in your Desktop folder, then:
> cd /Users/asarkar10/Desktop/MAAD-AFRun MAAD-AF by typing in PowerShell:
> ./MAAD_Attack.ps1
Note:
Ideally in an actual POV (or even now), you can run MAAD-AF from any Windows 10 host.
Your personal computer, your work machine, Vectra Cyber Range Windows 10 machine, prospect/customers work machine, a cloud Windows Virtual Machine -
literally any Windows 10 machine you can find with PowerShell 5 and an internet connection.

This is specially helpful to know if you or your prospect faces issues with running MAAD-AF directly on their own work machine
where EDR agents can block execution of an un-signed attack tool like MAAD-AF.
While discussing host requirements with prospects (which are just the three things mentioned above), point them to MAAD-AF public documentation for easy reference.
Step 3: Start Testing
Congrats! This concludes the initial setup. Really that simple! Next, we will start security testing by establishing access and executing attack techniques.
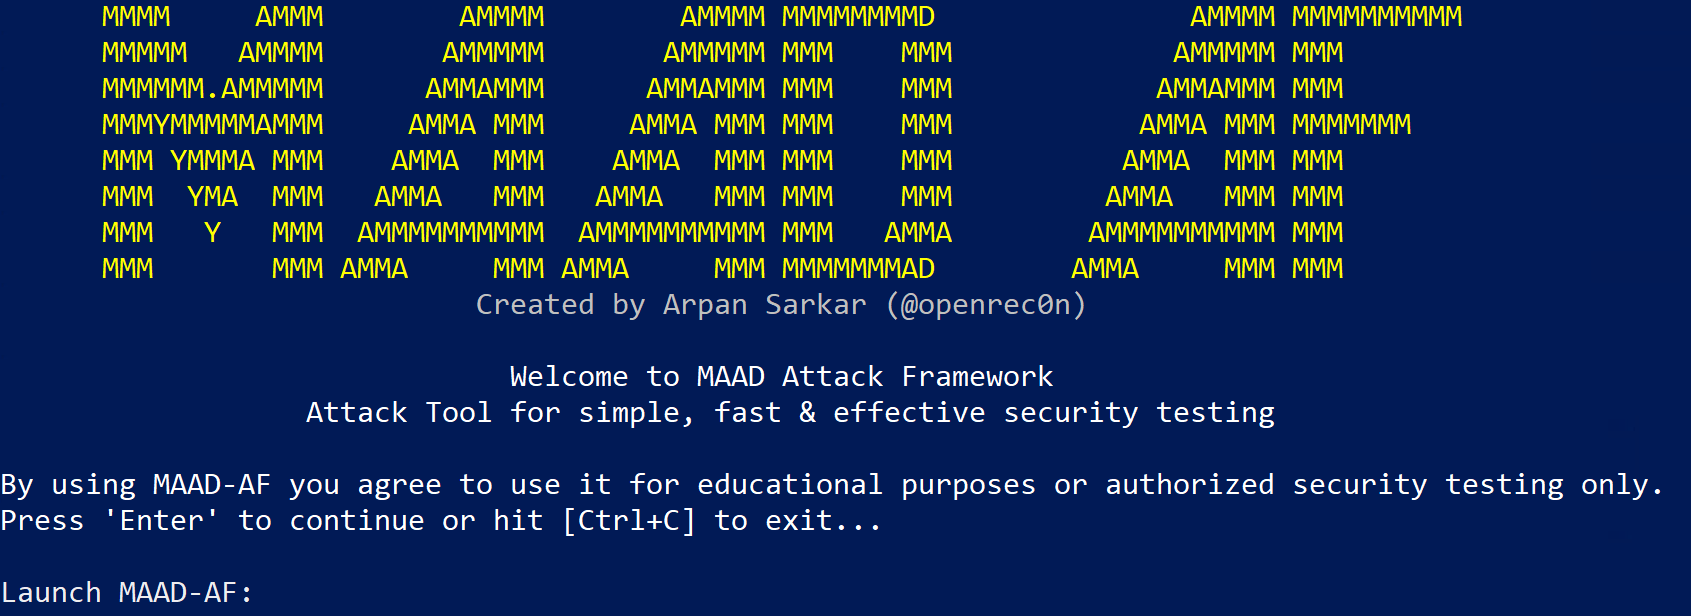
Checkpoint: 1 ✅
Welcome to your first checkpoint: Take a screenshot of the MAAD-AF art produced at the launch of the tool. Your screenshot should show launch art similar to the screenshot below.